In Continuing Education, you've chosen Parents' Literacy/Numeracy, the third tab card along the top bar of the page.
This menu option is used for registering parents/guardians as Literacy and Numeracy pupils and for tracking theirClass Attendance.
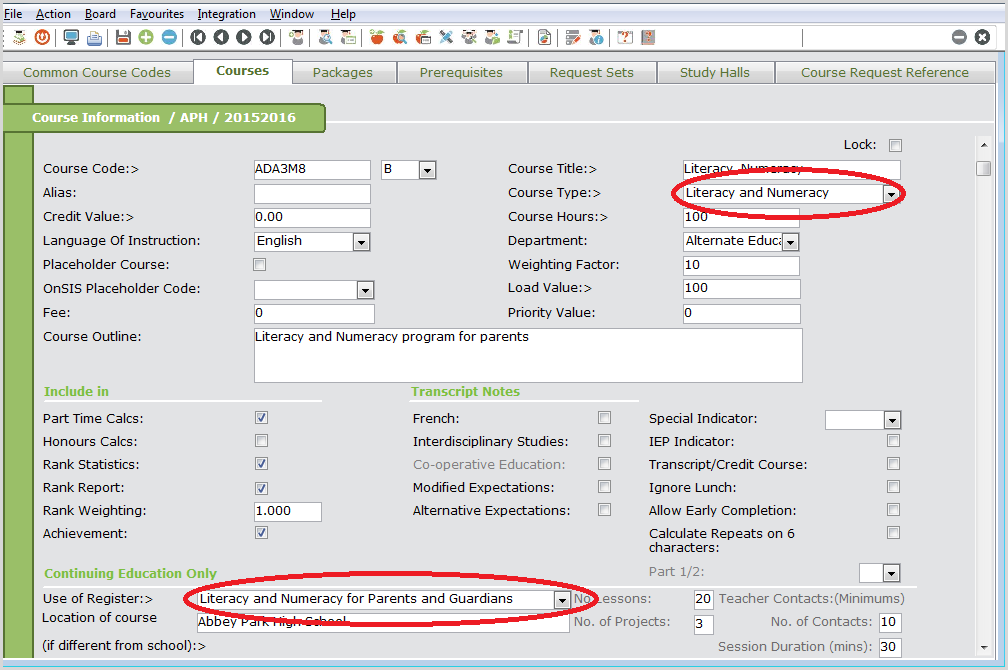
Before teachers can use this page, the Literacy/Numeracy Class should be set up in the Core Trillium application. Course Code and Sections, as well as the Continuing Education information must be defined in the Courses Information and Builder windows. In the Course Information window, the Use of the Register field should be set to "Literacy and Numeracy for Parents and Guardians." Then the Classes window should be configured with the Track, Semester/Term and Teacher information.
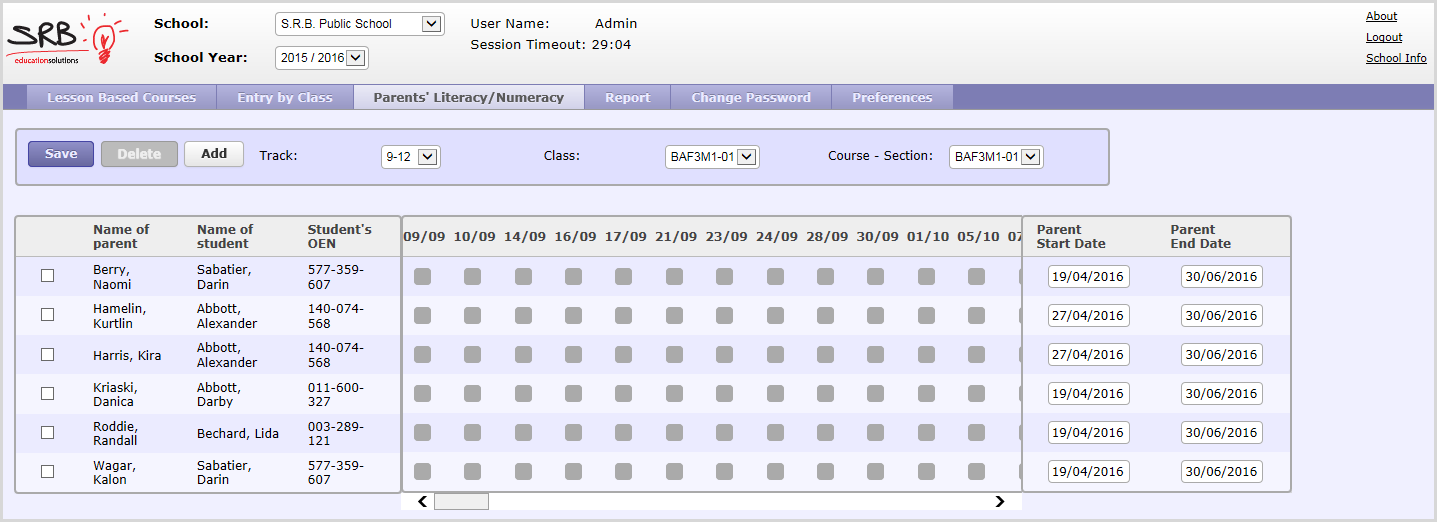
The upper portion of the Parents’ Literacy/Numeracy page, show immediately above, contains the search criteria to select the Class, as well as control buttons to manage the list of the pupils (guardians, parents) with personal and Class Attendance information. The teacher must select a Track, Class and Course Section. The teachers only see the Literacy/Numeracy Classes they are assigned to. If they have the All students flag set in the Security > User Profile window, then all of the Literacy/ Numeracy classes' students will be available.
Adding a Parent
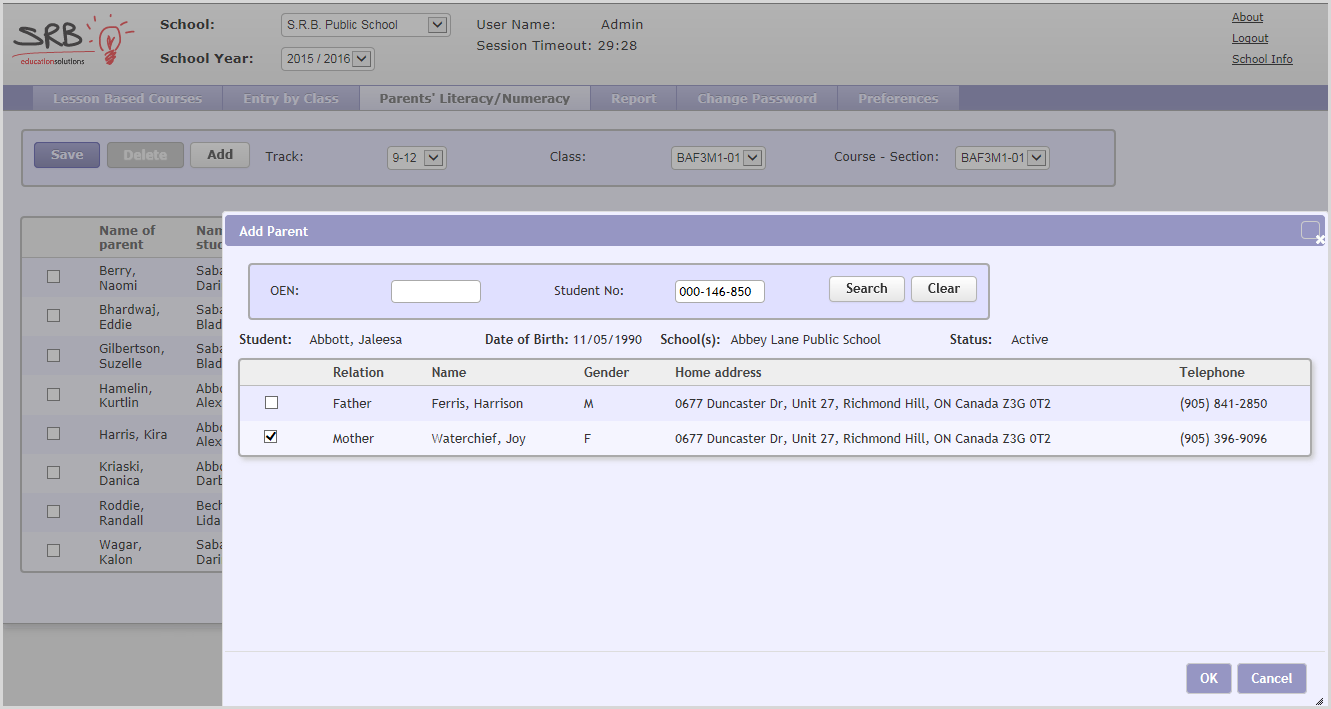
Click Addto add new pupils to the Literacy & Numeracy Class. That brings up the Add Parent pop-up window:
Enter the OEN or Student Number of the student whose parents (guardians) should be added to the Class. Click Search or Press Enter.
Our application forces the correct format of the OEN or Student Number, which is NNN-NNN-NNN. Only one search field (OEN or Student No) must be populated. If you fill in both fields, we display an error message.
The search of the student covers all schools of your Board. If a student having the entered OEN (Student No) is found, their name, date of birth and list of schools appears. We show the list of schools the student is registered in, and the status of the student within each. If the student has active or preregistered status in at least one of the schools, TWebCE searches for the student's guardian(s).
Notes:
The school names for sheltered students are not displayed.
The search of guardians is performed for active or prereg students only.
If guardian(s) are found, the corresponding information is displayed in a table beneath the student’s data. The parent’s information includes full name, relation to the student, gender (since it’s required for the Register of Enrolment document), home address and home telephone.
You select one or more guardians by selecting the checkboxes on the left side of the guardian list and clickOK. The Add Parent window is closed and selected parents/guardians are added to the list of pupils at the main Literacy & Numeracy screen. (That list is sorted in alphabetical order).
If the current date (today) is within the Course term, the Start Date of the added pupil is set to the current date (today -- or to the first session date after today’s date). If the current date is outside of the Course term, the Start Date of the pupil is set to the Start Date of the Course. The End Date is set to the End Date of the Course.
Click OK to save the entries, adding the pupil(s) to your class.
Click Cancelto close the pop-up window without adding pupils to the Class.
Deleting a Parent
To delete a guardian/parent from the list of the Literacy/Numeracy pupils, mark the pupils to be deleted, by selecting their corresponding checkboxes. Our application displays this question: "Do you really want to delete the selected student(s)?" Click Yes to remove Literacy/Numeracy information for selected pupils from your database. All Attendance and Course registration data will be deleted.
Just so you know: In the button bar display, Delete is disabled until you select a pupil.
Only deleting will be performed when you click Yes. If you've changed Attendance data for some other students before the deleting, that Attendance data will not be saved until you click Save or switch to another screen.
Entering Attendance
Attendance data occupies the central part of the pupils’ table.
The top bar of the table contains dates of the sessions in dd/mm format. The calendar of sessions is built in accordance with the days of week which the Sessions have. Only Attendance days are included. If, for instance, the classes meet on Sundays, the Sundays should be included in the school calendar as Attendance days for the Literacy/Numeracy Track.
The Attendance cells might have the following values:
N - Not Registered – (the value is not shown, the cell is dark grey) – the student has not joined the Course yet or has dropped it before the corresponding date;
Empty cell - Attended – the student has attended the Course on the corresponding date or is expected to attend it (if the date is in the future);
A – Absence – the student missed the session;
C – Cancelled – the session has been cancelled.
The Start and End dates are set for each pupil individually. The dates before the Start Date as well as the dates after the End Date are dark grey; the teacher cannot enter data into these cells.
You can enter "A" or "C" in an empty cell or remove a value from the cell. The following rule is applied:
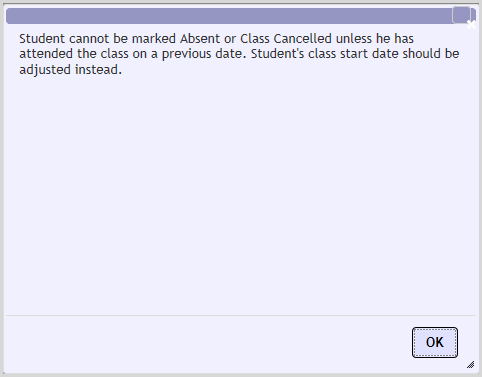
If the teacher tries to mark the pupil absent, there must be at least one prior date that the student is not marked absent or "C." If this happens, an error message appears. The value of the cell does not change. The same check is performed on attempt to enter "C."
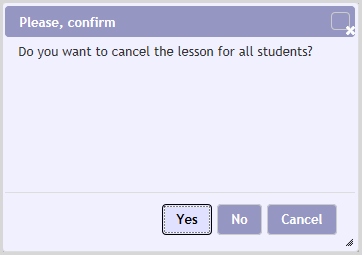
If you enter "C" in a cell, this message window pops up:
If you Click Yes, all sessions of the current date will be marked with "C."
The "C" cells are light grey. You can change this value to "A" or delete it.
Start and End Dates
Start and End dates of the Course are set for each pupil individually. When a person is added to the Class list, the Start Date is set in accordance with the following rule: If the current date (today) is within the Course term, the Start Date of the added pupil is set to the current date (today, or the first session date after today’s date). If the current date is outside of the Course term, the Start Date of the pupil is set to the Start Date of the Course.
The End Date is set to the End Date of the Course.
You can change the start and end dates for any pupil.
The text boxes for the start and end dates require dd/mm/yyyy format. Each box has a date-picker. The date value in the box is changed when you close the date-picker or click outside the date box.
The following rules are applied:
The Start and the End dates must be within the Course term;
The End Date cannot be before the Start Date;
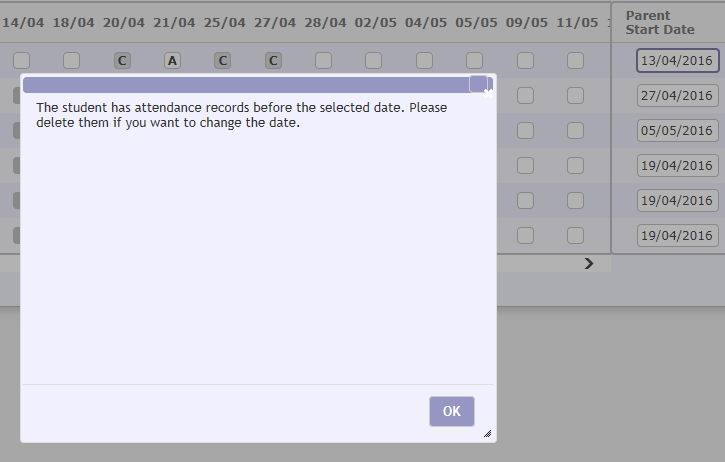
If you change the Start Date to a later one and there were "A" cells before the new Start Date, this message appears:
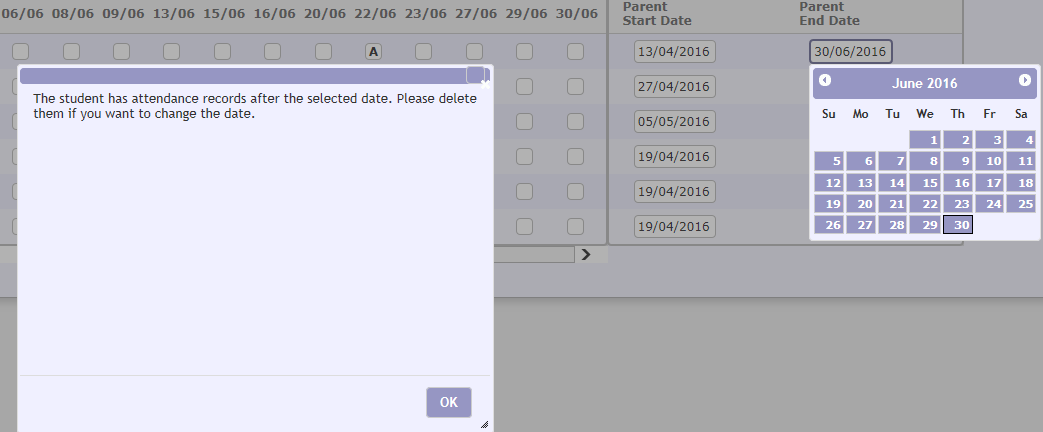
If you change the End Date to an earlier one and there were "A" cells after the new End Date, this message appears:
JavaScript errors detected
Please note, these errors can depend on your browser setup.
If this problem persists, please contact our support.