
Continuing Education: Reports: Enrolment Verification, Courses for Grant Purposes
Overview
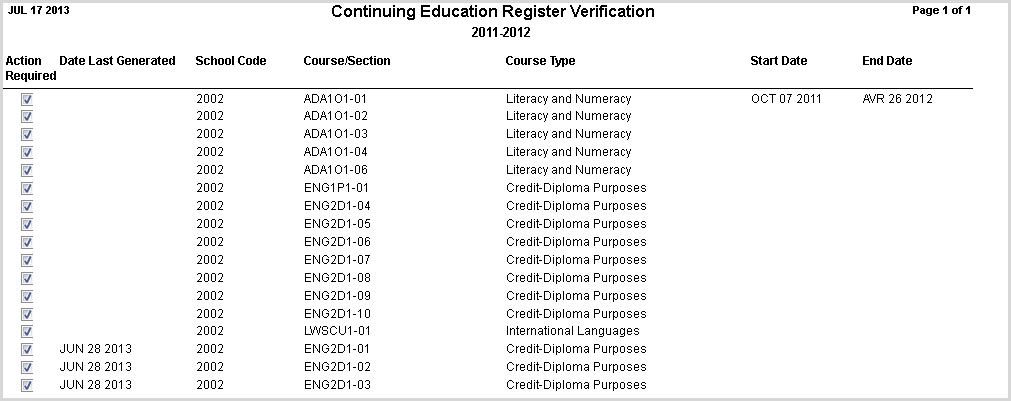
Continuing Education Register Verification Report
The Continuing Education Register Verification Report allows you to check the date each Course's Register was last produced. This report can be run for multiple schools, depending upon your security profile. Report access is controlled by the Security Task CE Register Verification Report. Prior to extracting the Continuing Education information to the Course List for Grant Purposes spreadsheet, your Board should run this report and ensure each Register has been generated after the last day of the Class.
Individual schools can be given access to this report, showing whether they've generated all of the CE Registers. School users only have access to the schools identified in their security profile.
Course List for Grant Purposes Extract
- Generate the Continuing Education Register Verification report for all schools, and ensure that all Registers have been generated on or after the last day of the Class. If any Registers have not been generated, or were generated prior to Course completion, generate the specific Register for the school.
- Generate the .xml extract file using the Course List for Grant Purposes Extract option available in the Continuing Education folder of Trillium's report launcher. Specify the location and file name for the .xml file.
Both an English and French spreadsheet template file (20122013 Course Lists and Summary English.xlsx and 20122013 Course Lists and Summary French.xlsx) have been included as part of the release package. Create a copy of the appropriate template that you'll use when importing the xml file.
Open that copy of the Excel spreadsheet using Excel 2007 or higher.
In Excel, use the Import option on the Developer tab to import the .xml extract file into the spreadsheet. (If the Developer tab is not visible refer to Office Help.)
On the Developer tab, in the XML group, Click Import.
The Import XML dialog box will appear. Select the recently generated xml extract file, and Click Open.
All information in the XML file will be imported into the appropriate sheets of the spreadsheet.