
Demographic Updater: Parent Usage
Overview
Once parents have accounts here is how Demographic Updater looks and works.
Steps
- When you log in, scroll down to Available Forms. We cannot guarantee your school will literally name the form you need Demographic Update, but the form name may very well have Demographic Update as a part of it. Click Start, at right.

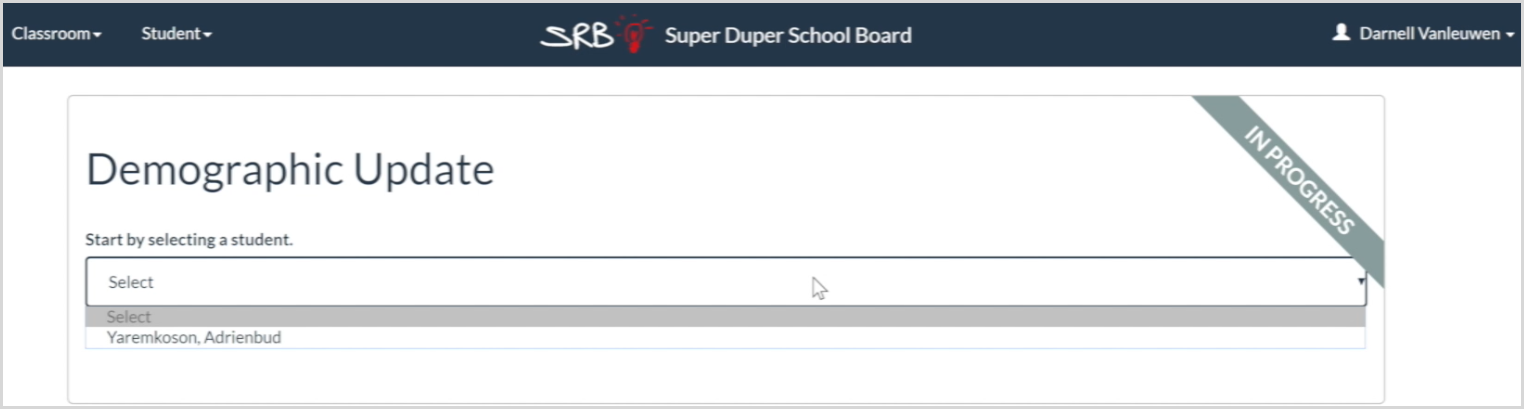
- On the next page, you'll pick the student you wish to edit from a picklist like the one shown below. Then, Click Yes when asked to confirm your choice.
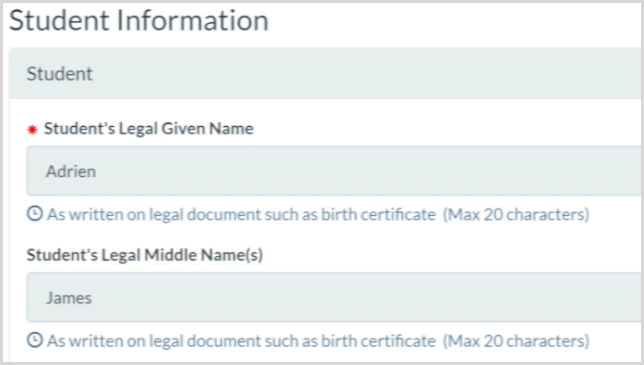
- The form comes up, with the data your school's SIS has on you student filled in. Your school will have specified certain major fields you won't be able to edit. Those fields will be shaded, as the legal names below are:
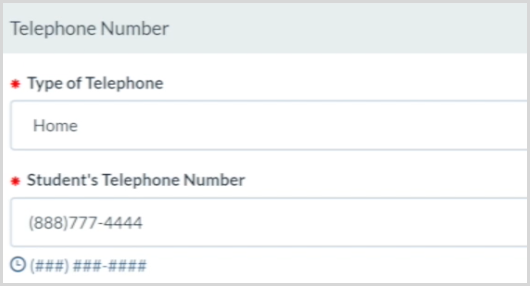
- You'll be able to edit the fields which display in white, as Type of Telephone and Student's Telephone Number are here:
- The form does not have a Save button. It saves your edits automatically, after you fill in each field. If you are unable to finish your data entry in one sitting, you can leave the webpage and return to the form later. The forms you've started will be displayed at the top of the page, under the My Submissions header.
Important Notes
- Parents can add new Contacts, which will add all of the Contact's data fields as well;
- Parents can add new Street information;
- Be aware: When you see what appear to be a pair of Add New buttons, generally the top one will add an entire new entity; for instance: a new Contact; while the lower Add New button will add only a component of that entity's record.
- Parents cannot delete fields, only clear their contents.
- In Telephone and Email fields, there's an erase button at the top, right corner. It will clear the contents of those records.