Events
Use Events to manage college events and publish them in Naviance.
Create an Event
- From the Intersect homepage, navigate to the Events tile, then click Publish.
- From the Events page, click Create Event.
Enter the event information.
To track the number of students who registered for your event in Naviance, create a unique URL for Naviance students or include a question in your registration form so students can let you know they found the event in Naviance.
To add a new filter while creating an event, start typing in the Event Audience field and select +New Filter.
- Click Publish Now to make the event available in Naviance or Save Draft to publish the event later.
Manage an Event
- From the Intersect homepage, navigate to the Events tile, then click Publish.
- From the Events page, select the Published, Unpublished, or Expired tab.
Click the kanban list and make a selection.
Click Edit to update the event information, then click Save Draft or Publish Now.
- Click Publish or Unpublish to publish or unpublish the event immediately.
- Click Duplicate to create a duplicate event. Update the event information, then click Save Draft or Publish Now.
- Click Delete, then confirm deleting the event.
Create a Filter
Create filters to reach specific audiences for your event, then apply the filter to events so they are recommended to those groups of students in Naviance.
- From the Intersect homepage, navigate to the Events tile, then click Publish.
- Select Filters, then click Create Filter.
- Enter the filter information.
- Click Save Filter.
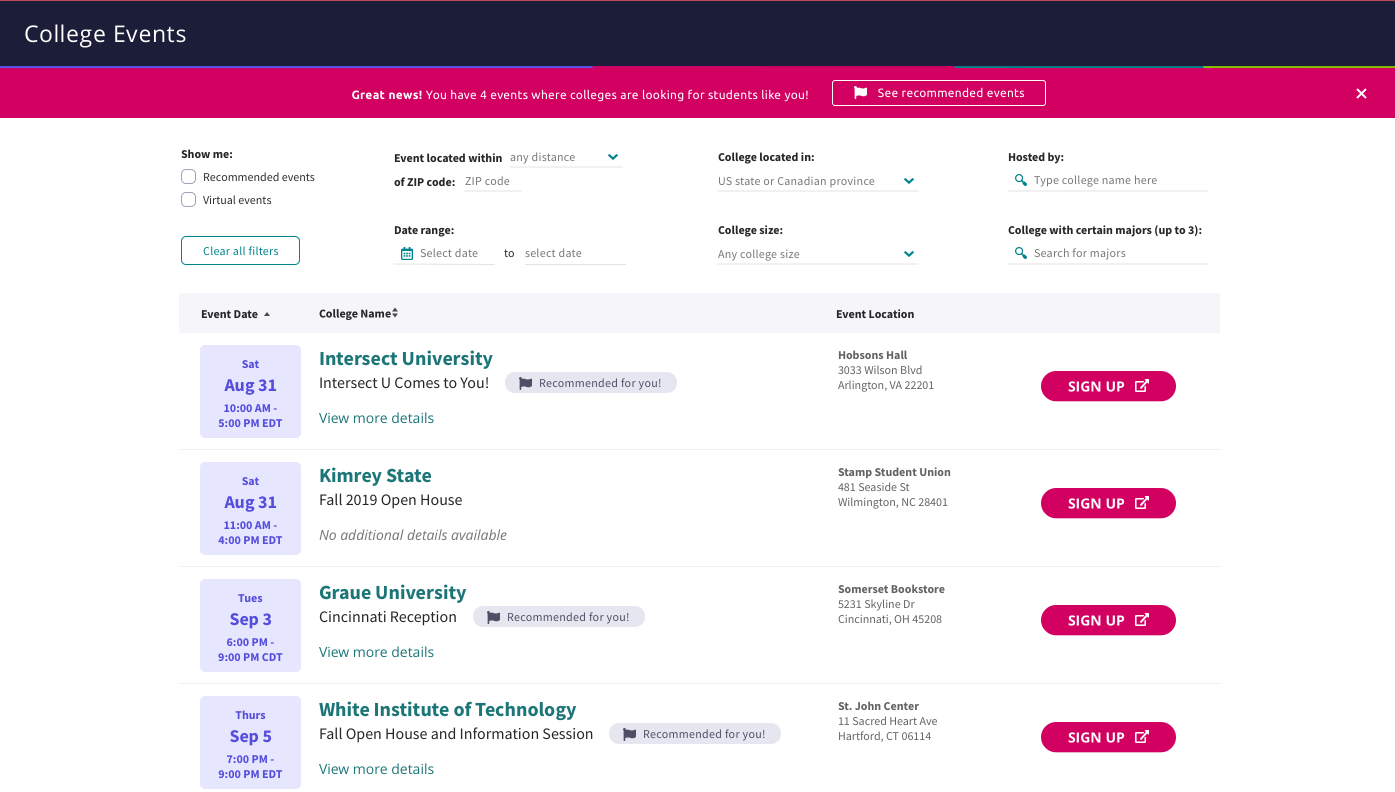
Events in Naviance Student
When the College Events feature is activated in Naviance, students can:
- Search for events.
- Review event information.
- Register for events if you provide a registration link.
- Receive recommendations for events if you create event filters.

