
Right-To-Left (RTL) support will be managed through the SIS database and the APEX upgrade process.
This procedure must be completed for both 100 and 200 PowerSchool Enterprise Reporting.
Apex reports are designed to display content according to the language settings of the browser.
To enable RTL, complete the steps:
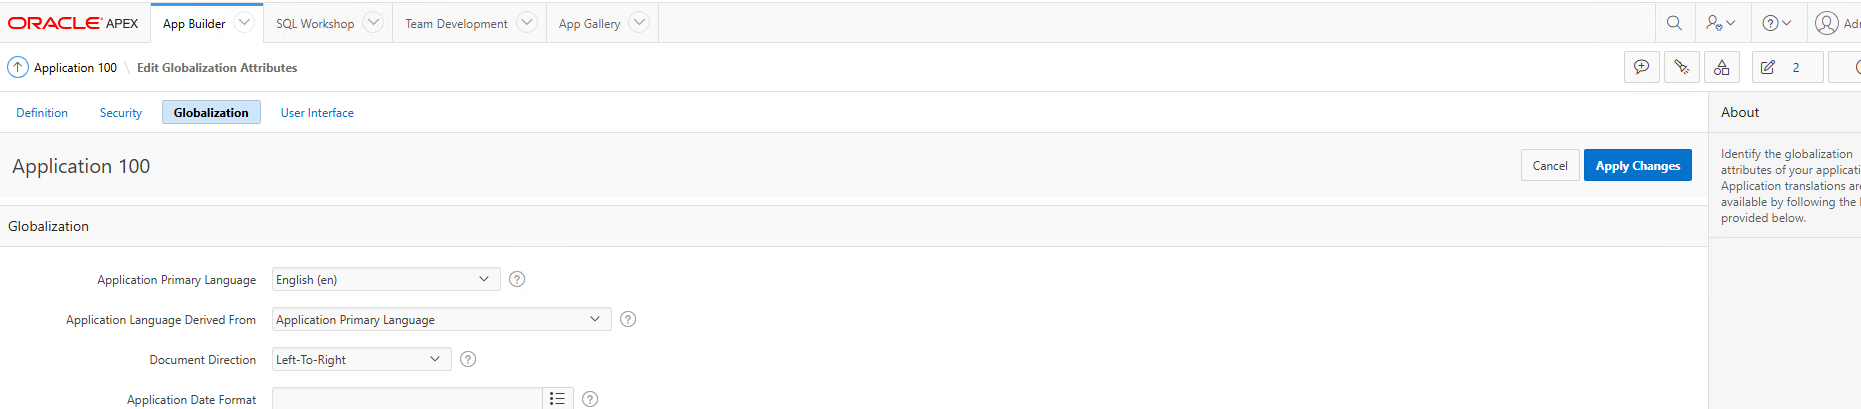
Set APEX Globalization settings
-
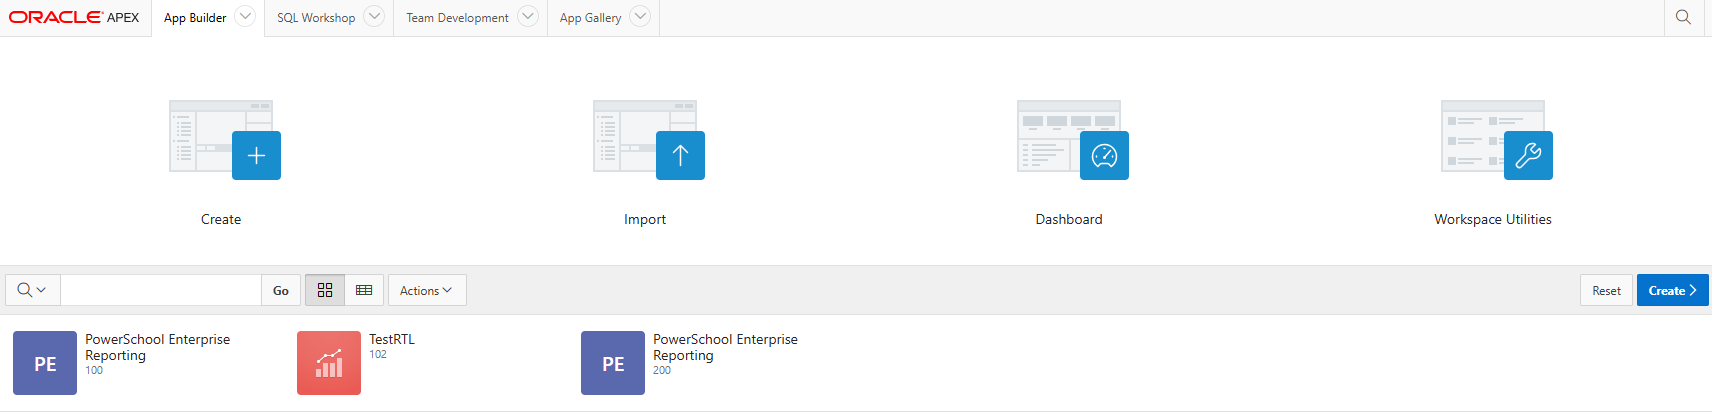
In the App Builder, click PowerSchool Enterprise Reporting (100) or (200).
-
Click Edit Application Properties.
-
Navigate to the Globalization tab and select
Browser (use browser language preference)in Application Language Derived From column. -
Change the primary language to Arabic.
-
Click Apply Changes.
Adding Global page
-
Navigate to Application 100 or 200 start page
-
Click Create Page.
-
Select Global Page.
-
Click Next and Submit.
-
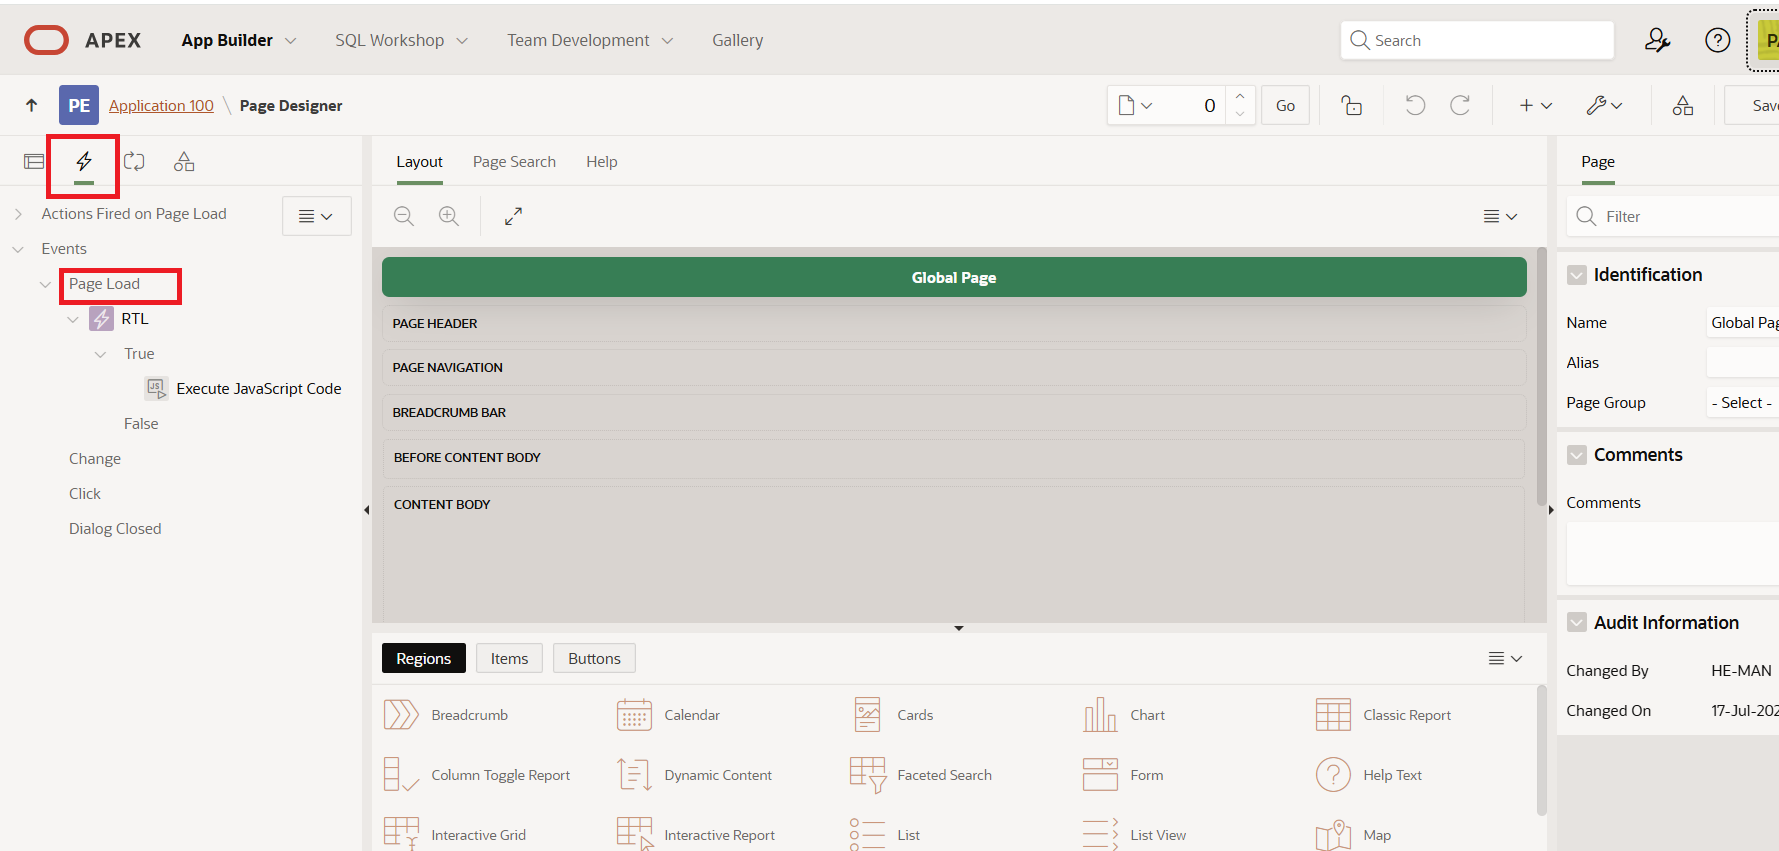
Open the Global Page and create a Dynamic Action for the event - Page Load.
-
Expand the newly created Dynamic Action, and navigate to the True section.
-
Select Show.
-
Navigate to Identification section.
-
Select Execute JavaScript Code for Action.
-
Add the code to the Code section:
-
JavaScript
//for initial table formatting
document.querySelectorAll("td").forEach((cell) => {
   cell.setAttribute("dir", "auto"); // Set the dir attribute to "auto"
});

//for formatting table after table data is refreshed
$(document).on("apexafterrefresh", function (event, data) {
  document.querySelectorAll("td").forEach((cell) => {
     cell.setAttribute("dir", "auto"); // Set the dir attribute to "auto"
  });
});

const targetNode = document.querySelector('.a-IRR-sortWidget-rows');
const config = { childList: true, subtree: true };

const callback = function(mutationsList) {
    mutationsList.forEach(mutation => {
        if (mutation.type === 'childList') {
            $(mutation.target).find('a').each(function() {
                $(this).attr('dir', 'auto'); // Add dir="auto"
            });
        }
    });
};

const observer = new MutationObserver(callback);
if (targetNode) {
    observer.observe(targetNode, config);
}
-
Import themes
-
In App Builder, click Import
-
Select the f100_theme_102 file.
-
Select Theme Export as the file type.
-
Set the File Character to Unicode UTF-8
-
Click Next.
-
Select the 100 PowerSchool Enterprise Reporting Application.
-
Click Install Theme.
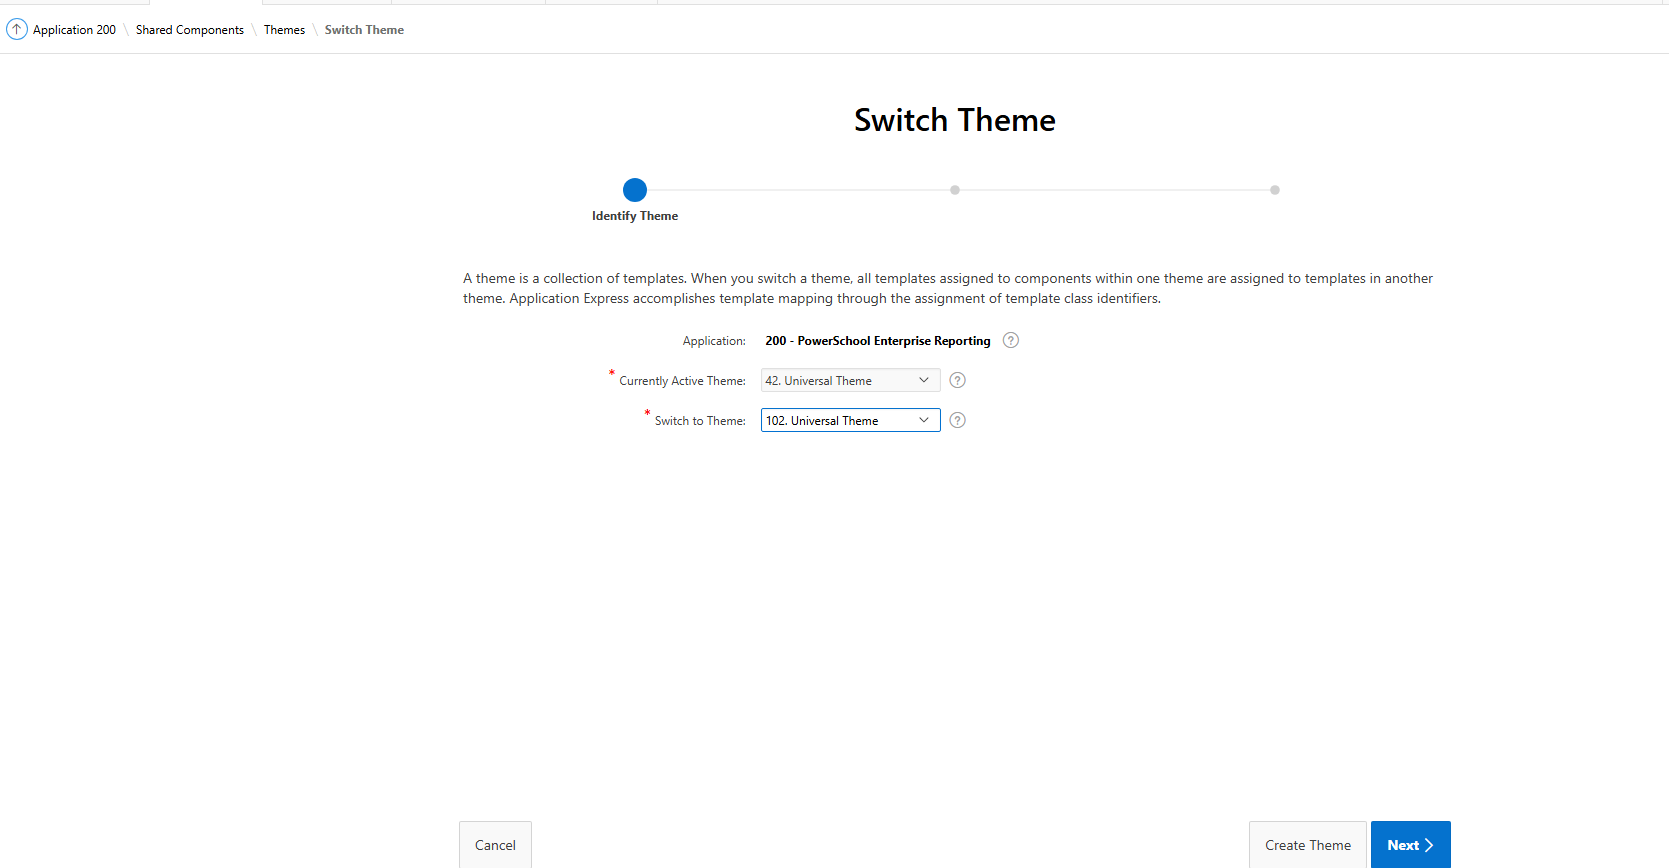
Switch Theme
-
Navigate to Shared Components.
-
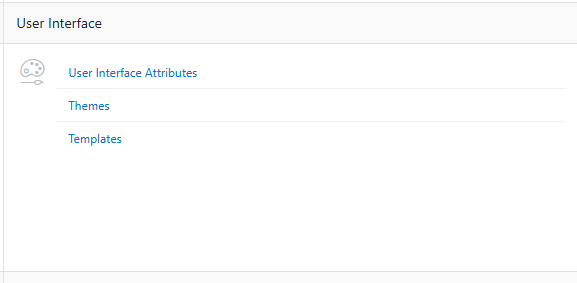
In the User Interface section, click Themes.
-
Click Switch Theme.
-
Select the Themes and click Next.
Follow the same procedure for f200_theme and 200 to import theme.
-
Apex theme for Application 100 -> f100_theme_102.sql
-
Apex theme for Application 200 → f200_theme_101.sql
Modifying reports after updating the theme and logo
-
Navigate to Application 200 - YTD Absences By Grade.
-
In the Items list, select P9_YEAR from the Items list, and deselect the Start New Row in the layout section.

-
To modify Student Attendance Summary section, select the element from left navigation panel and deselect the Start New Row from the layout section.
-
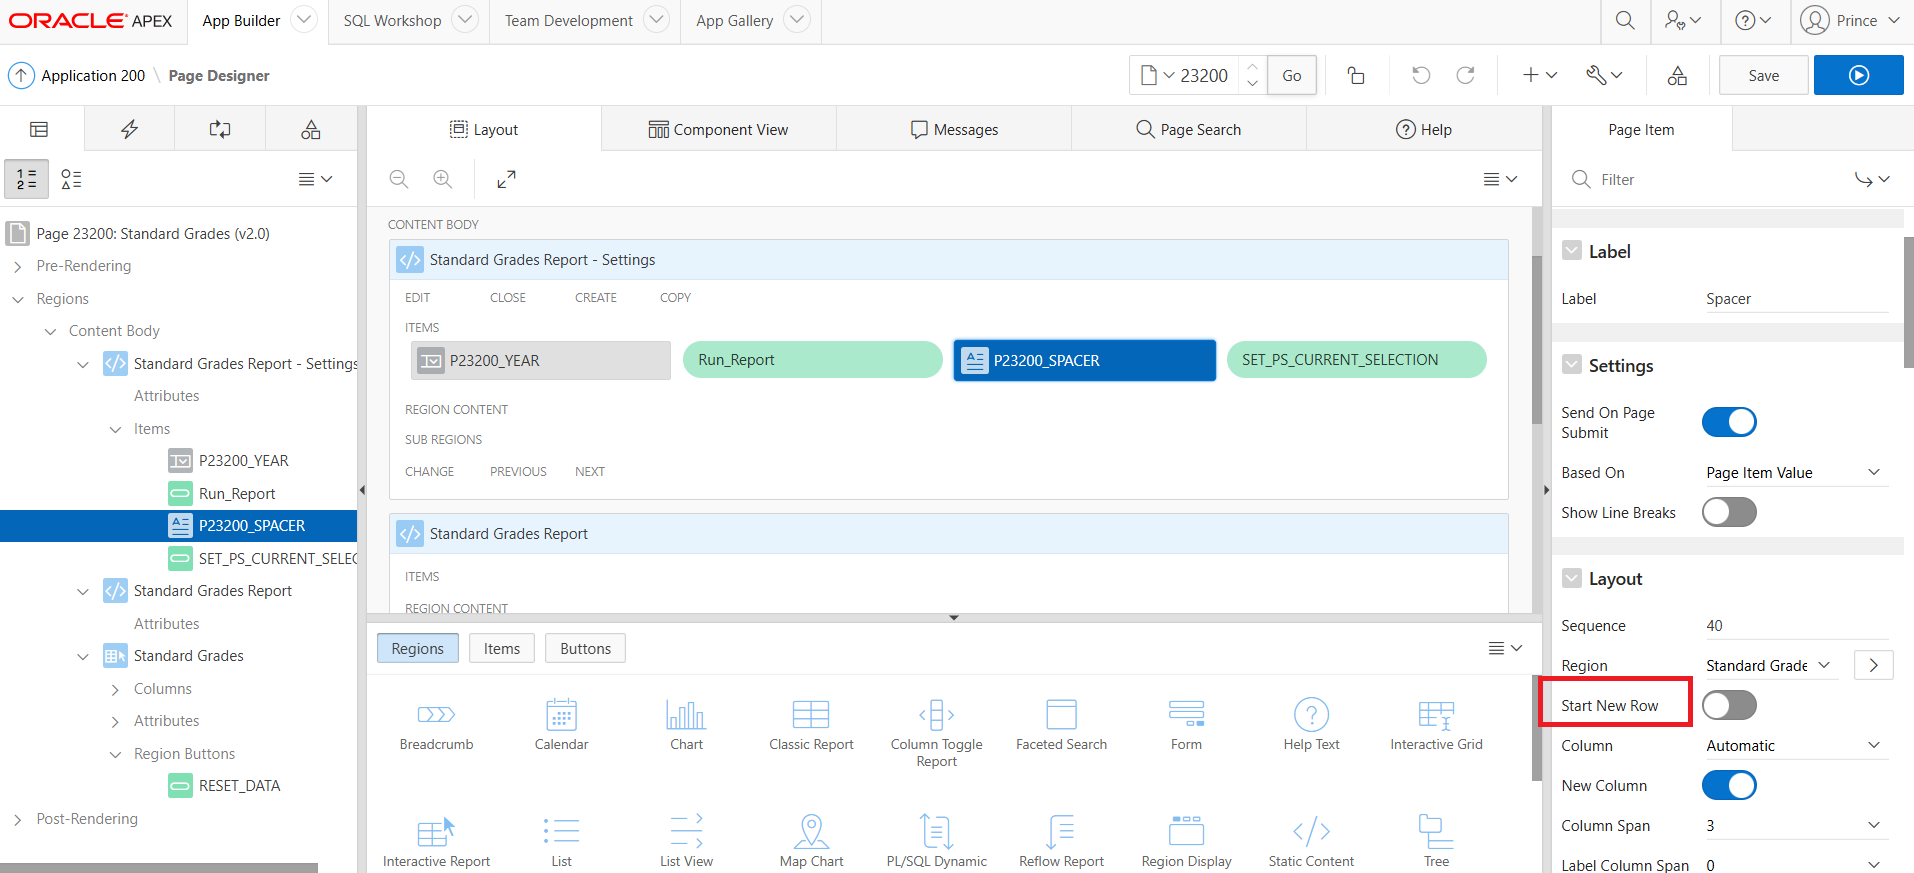
Navigate to Application 200 - Student Grades V2.0
-
In the Layout section, select P23200_SPACER and deselect Start New Row.
-
For both Application 200 - YTD Absences By Grade and Application 200 - Student Grades V2.0,
-
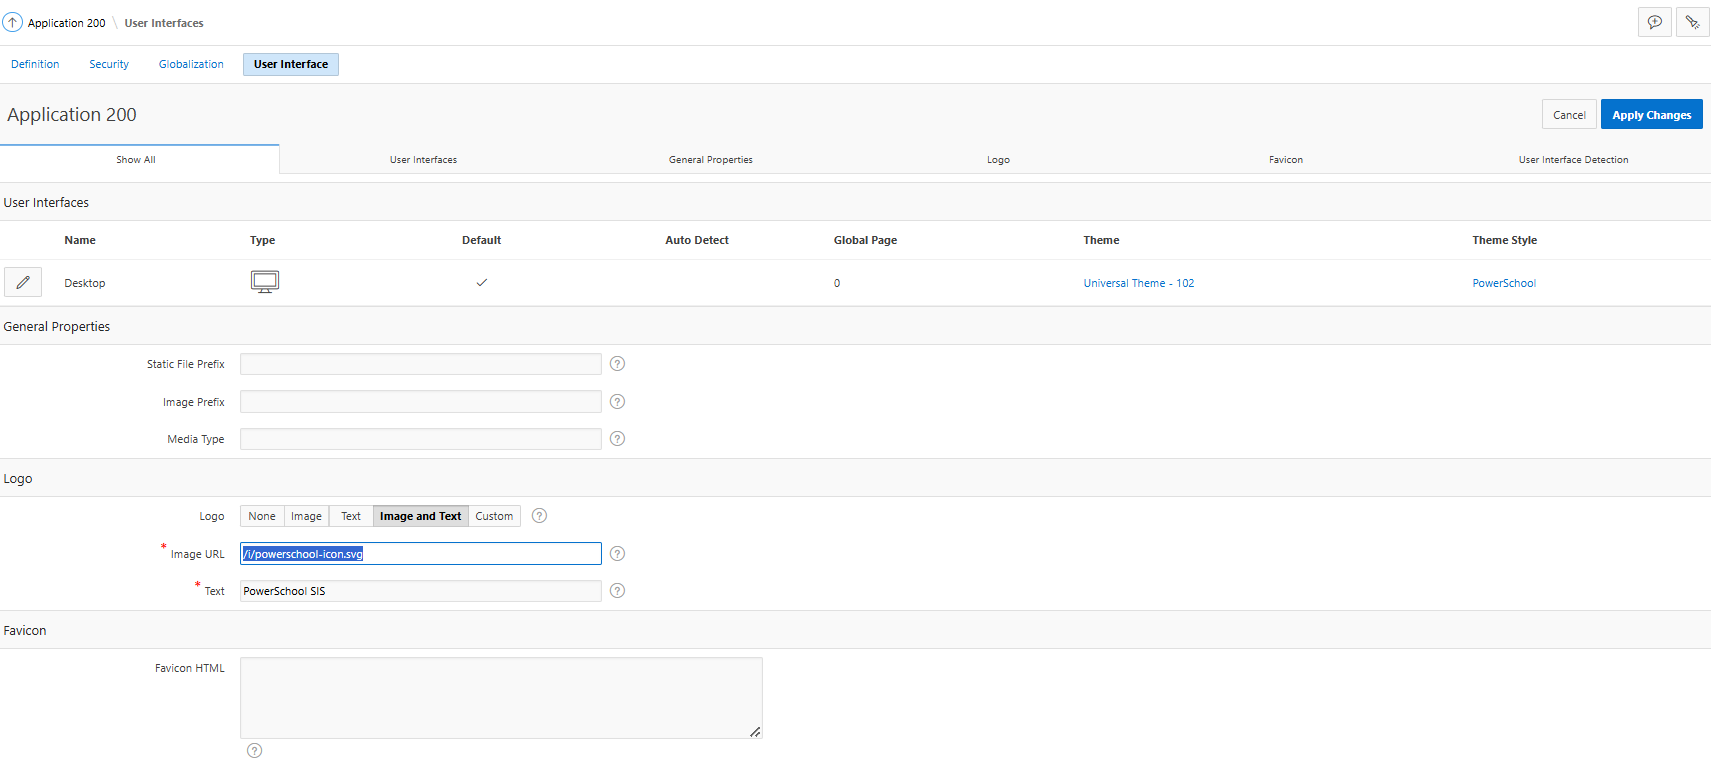
In the Shared Components, navigate to User Interface Attributes in Shared Components.
-
In the Logo section select Image and Text.
-
In the Image URL enter the value -
/i/powerschool-icon.svgand Text -PowerSchool SIS.
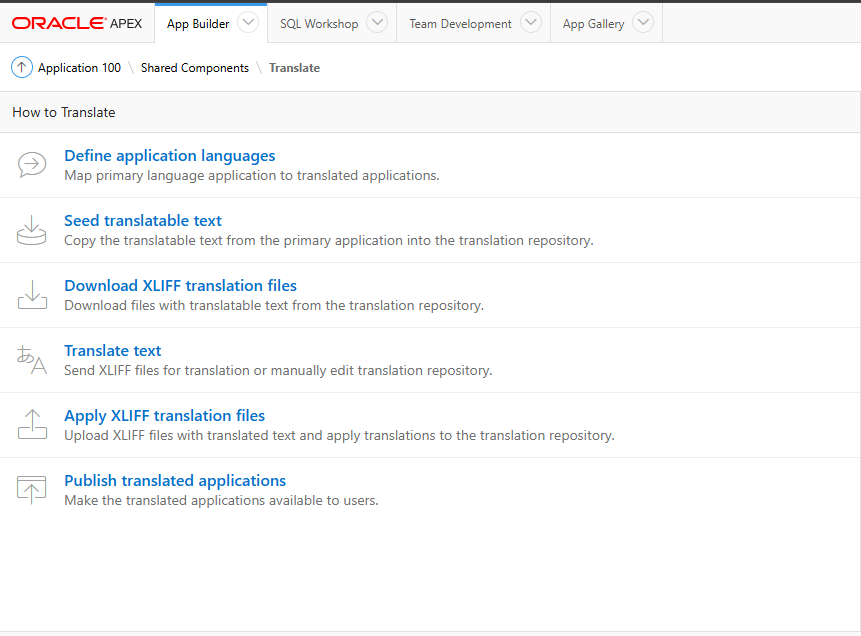
Create language entries and apply XML Localization Interchange File Format translation
Define the language that requires RTL support ad apply the file for the selected language.
Create Language Entries
-
In the App Builder, click PowerSchool Enterprise Reporting 100 or 200.
-
Click Shared Components.
-
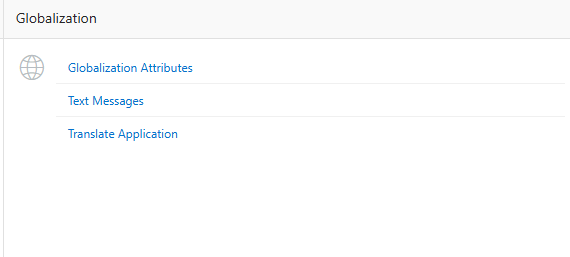
In the Globalization, click Translate Application.
-
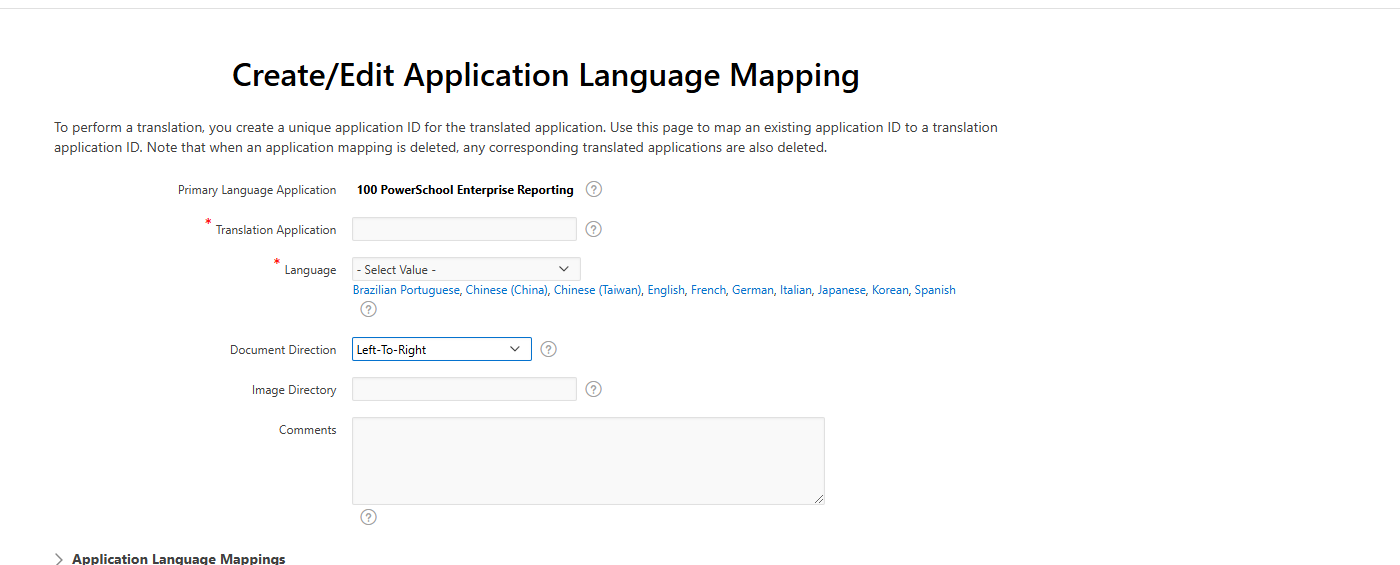
Click Define Application Language.
-
Create RTL Language, like Arabic(ar), Spanish(es), Thai(th) by clicking on Create button.
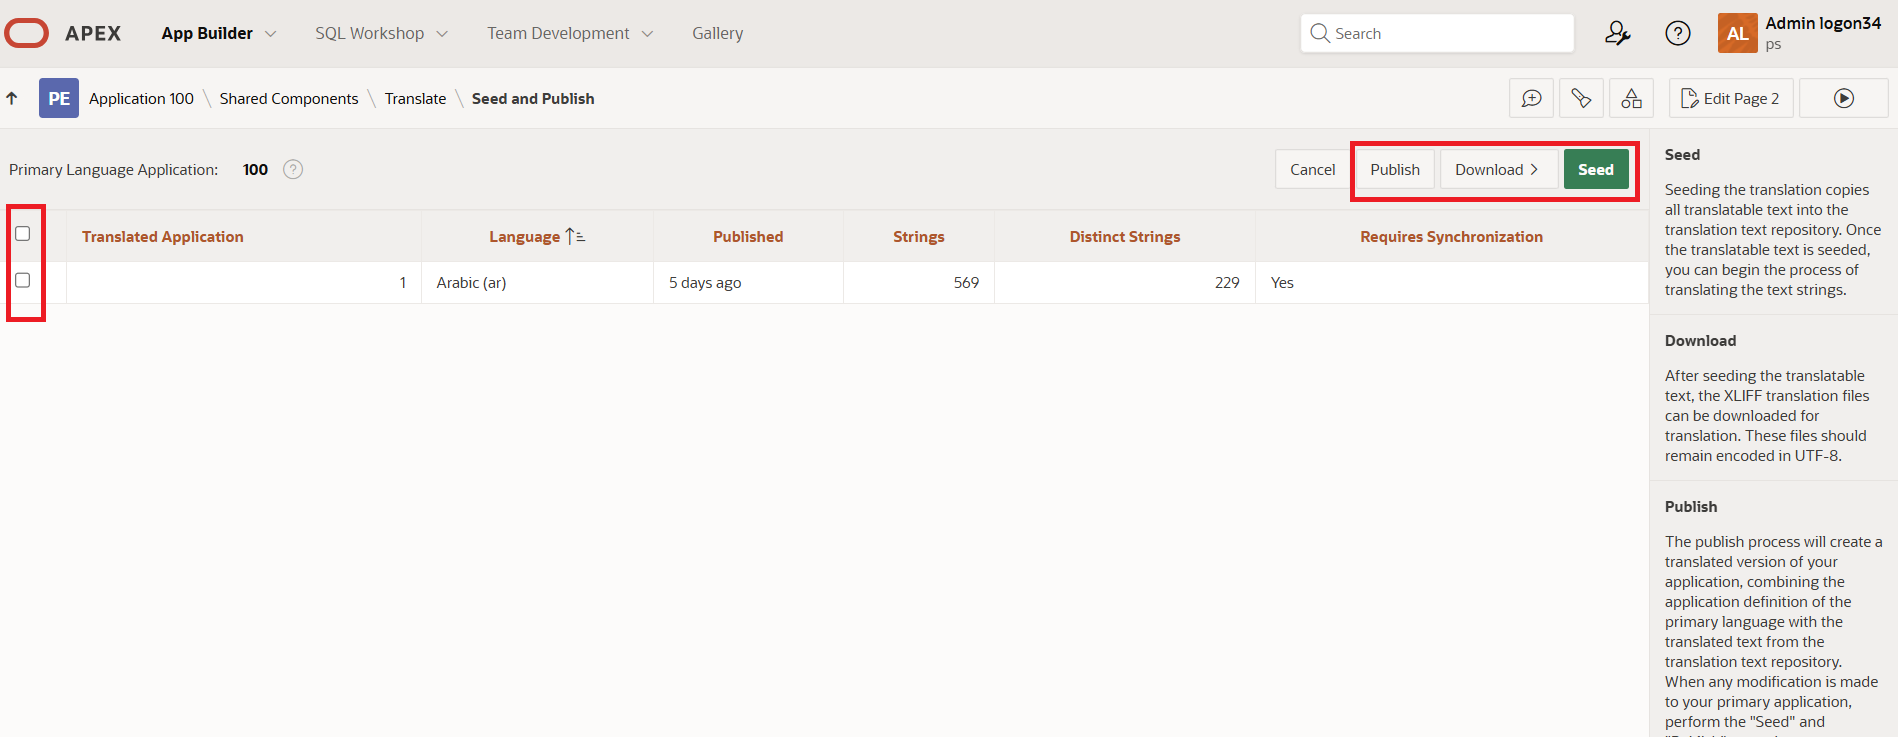
-
Once languages are created we need to seed them with existing texts. For that, navigate to Shared Components. Then click Translate Application under Globalization section. Click Seed translatable text, select all the created languages and click Seed button.
-
Apply XLIFF Transalation Files
-
Download APEX Translations.zip and extract it.
-
Each Language folder contains 2 files i.e. f100_* & f200_* . f100 refers to 100 Application where f200 refers to 200
-
Navigate to Shared Components. Then click Translate Application under Globalization section.
-
Click Apply XLIFF translation files
-
Upload 3 individual files from each language folder one by one and click upload
-
Apply to translation based on the language
-
Click Apply Checked
-
Click Publish
-
Select the language using checkbox and click Publish button
Apply Dynamic Translation
Enable Translations in Your APEX App
Navigation: Shared Components, Globalization, Translate Application.
-
Navigate to your APEX Application. For example, App ID 100.
-
Click Create Language.
-
Select Arabic (ar) as the language.
-
Select Dynamic Translation as translation mapping.
-
Click Create.
Create String Translation in APEX UI
Navigation: Shared Components, Globalization, Dynamic Translations.
-
Click Create.
-
Select Arabic (ar) as the language.
-
Select the From Text and To Text. For example, from English
Submitto Arabicإرسال. -
Click Create.
Follow the same steps for all translation instances.
After making the necessary changes, you can execute any APEX report according to the language selected in the globalization settings.