
Right-To-Left (RTL) support will be managed through the SIS database and the APEX upgrade process.
This procedure must be completed for both 100 and 200 PowerSchool Enterprise Reporting.
Apex reports are designed to display content according to the language settings of the browser.
To enable RTL, complete the steps:
Set Apex Globalization settings
-
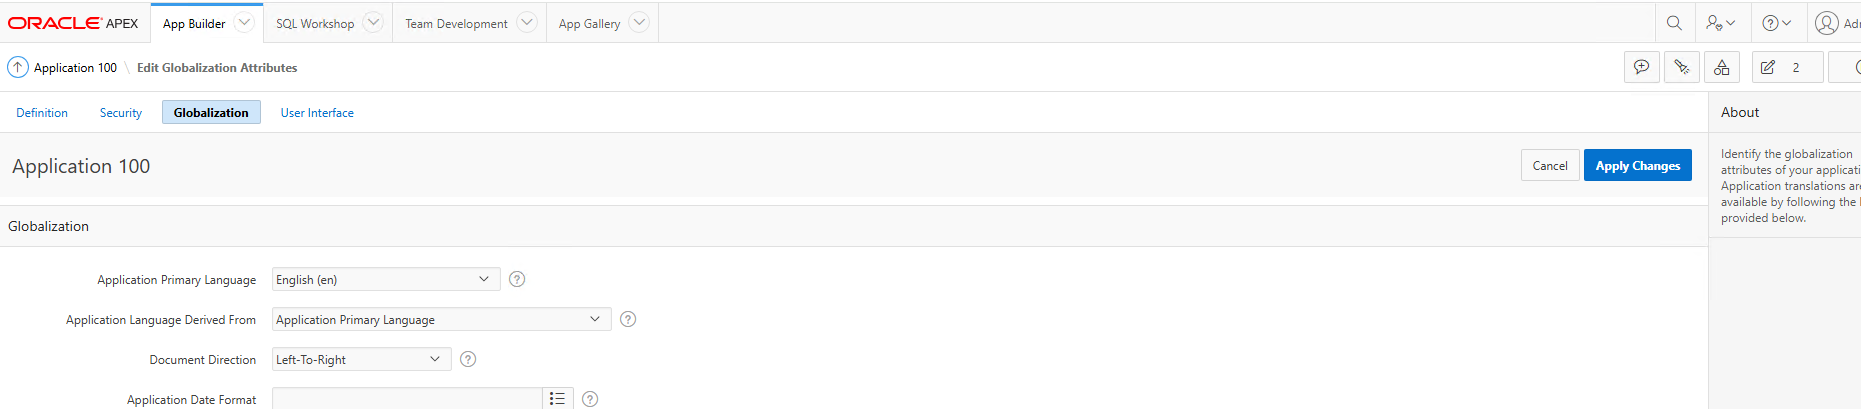
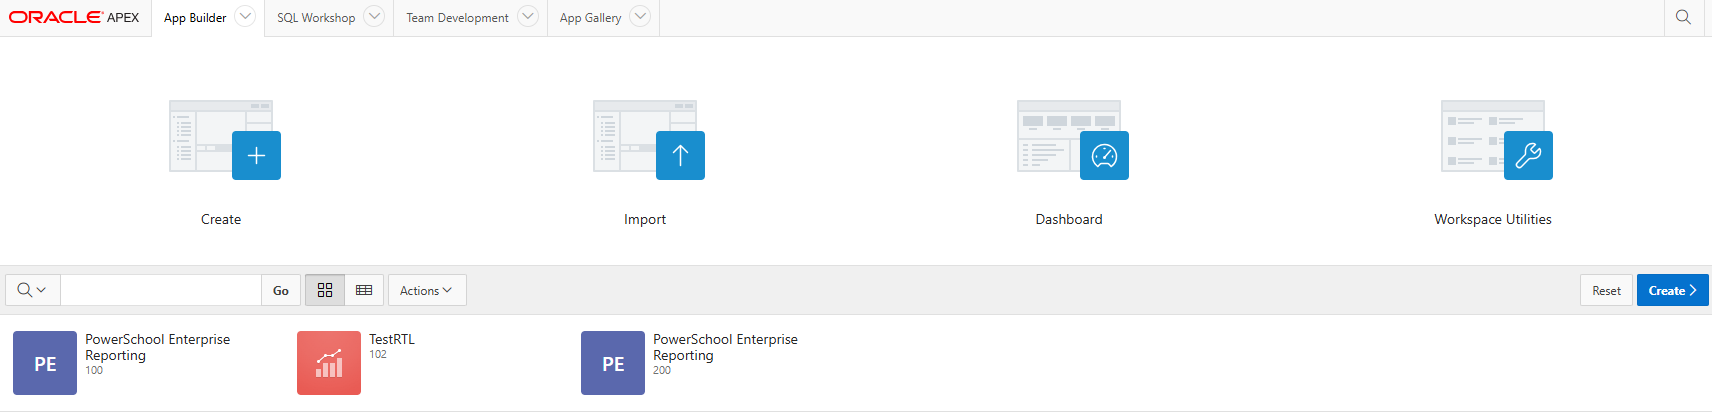
Navigate to the App Builder, click PowerSchool Enterprise Reporting(100) / (200).
-
Select Edit Application Properties.
-
Navigate to Globalization tab and select Browser (use browser language preference) in Application Language Derived From column.
-
Select Apply Changes.
-
In the App Builder, click PowerSchool Enterprise Reporting (100) or (200).
-
Click Edit Application Properties.
-
Navigate to the Globalization tab and select
Browser (use browser language preference)in Application Language Derived From column. -
Change the primary language to Arabic or Thai based on the required language.
-
Click Apply Changes
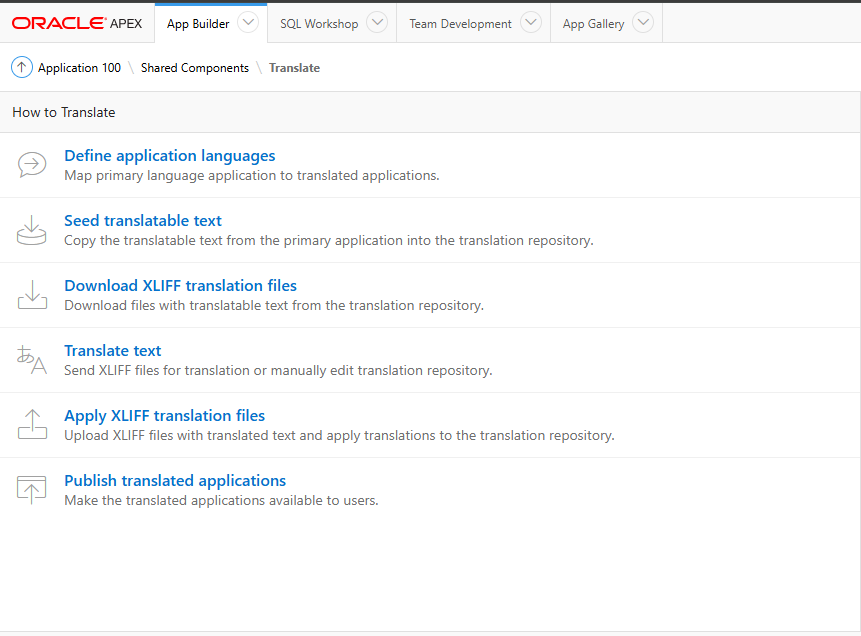
Create Language entries & apply XLIFF Translation
Specify the language that requires RTL support, and complete the following steps. apply the corresponding XLIFF file.
Define the language that requires RTL support ad apply the file for the selected language.
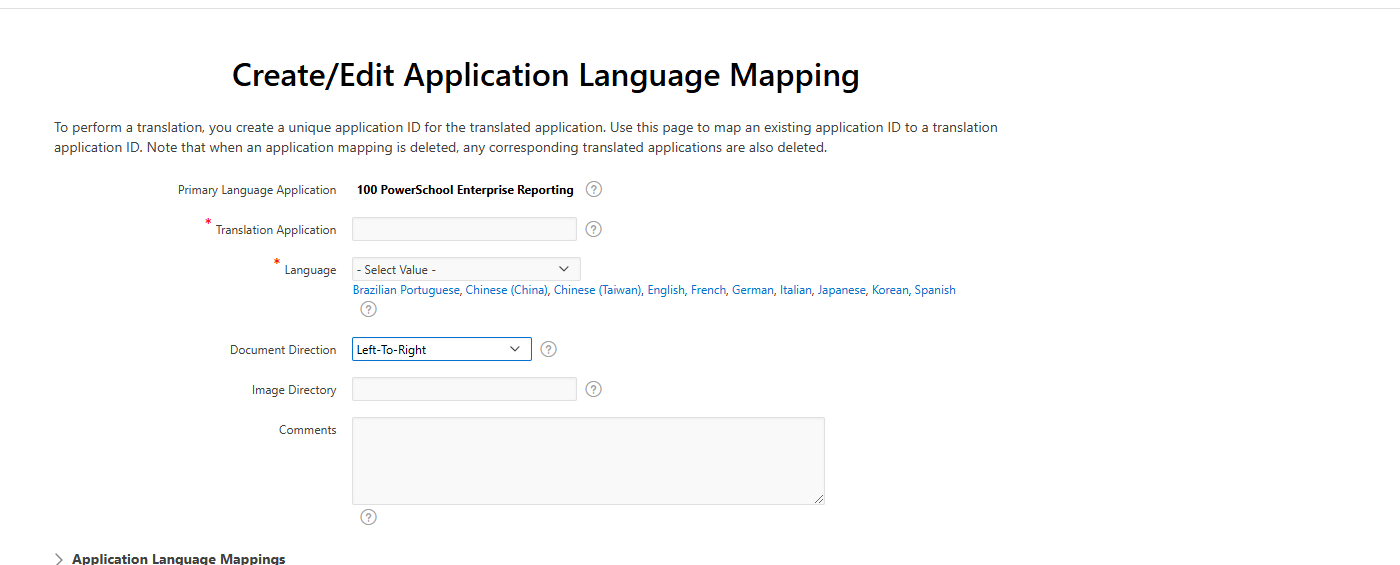
Create Language Entries
-
In the App Builder, click PowerSchool Enterprise Reporting 100 or 200.
-
Click Shared Components.
-
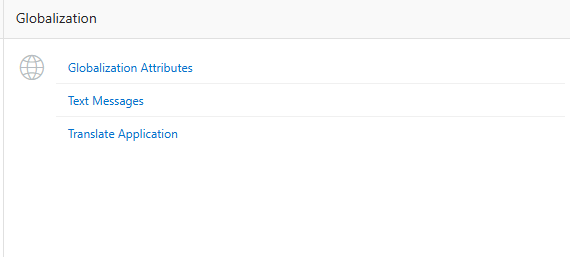
In the Globalization, click Translate Application.
-
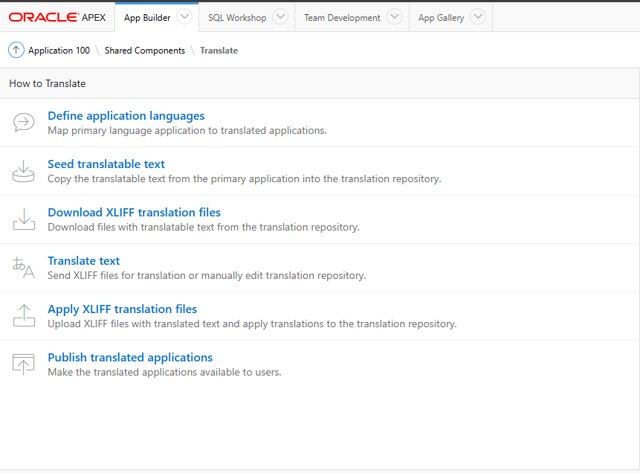
Click Define Application Language.
-
Create RTL Language, like Arabic(ar), Spanish(es), Thai(th) by clicking on Create button.
-
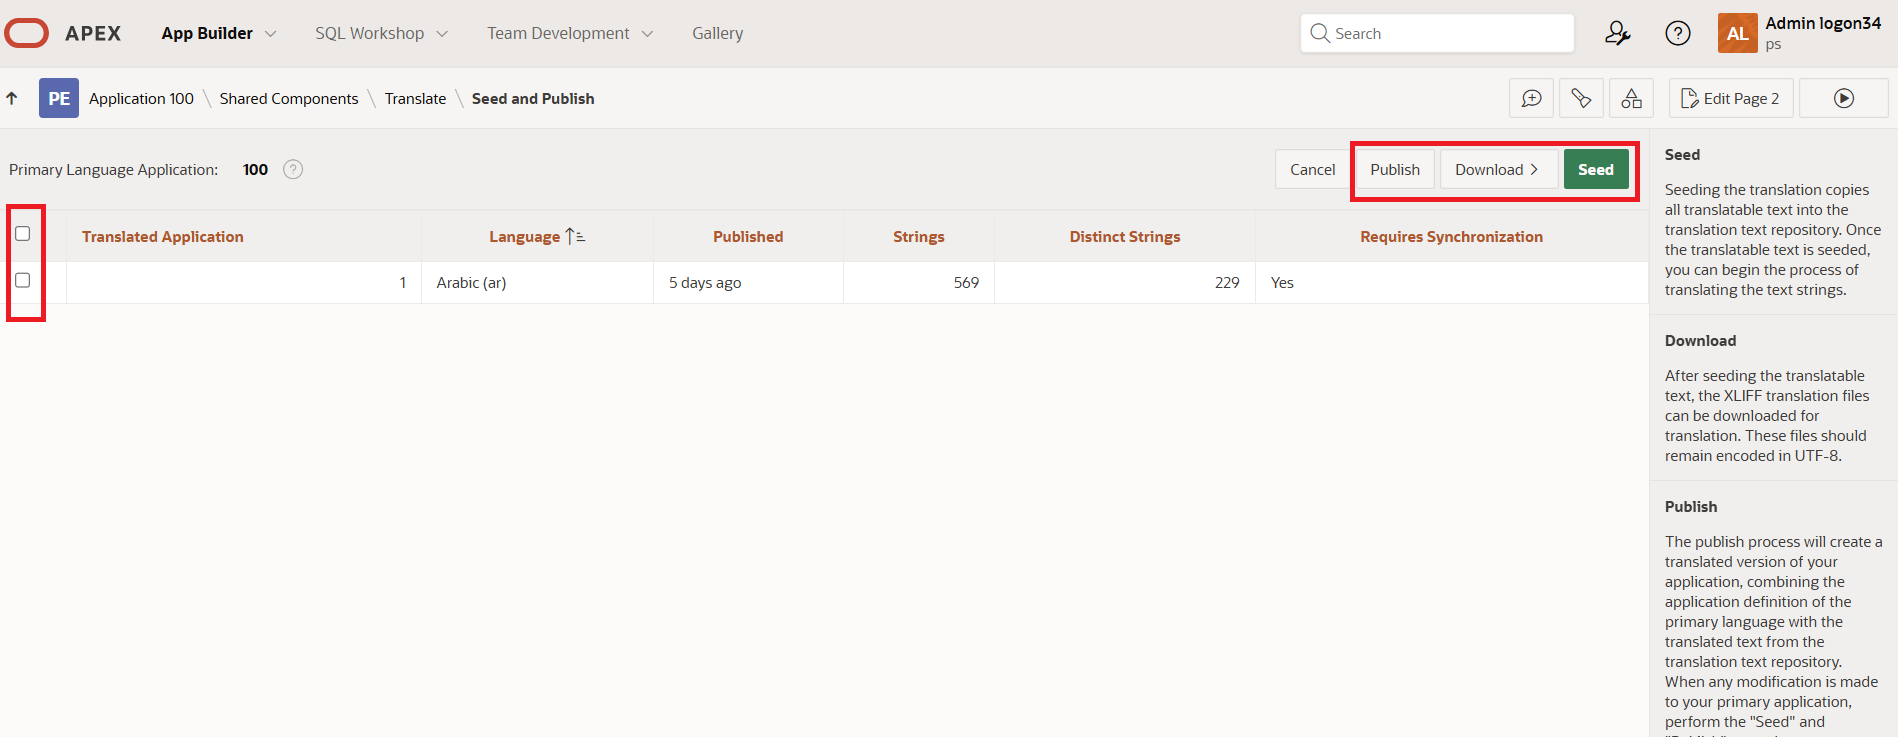
Once languages are created we need to seed them with existing texts. For that, navigate to Shared Components. Then click Translate Application under Globalization section. Click Seed translatable text, select all the created languages and click Seed button.
-
Apply XLIFF Transalation Files
-
Download APEX Translations.zip and extract it.
-
Each Language folder contains 2 files i.e. f100_* & f200_* . f100 refers to 100 Application where f200 refers to 200
-
Navigate to Shared Components. Then click Translate Application under Globalization section.
-
Click Apply XLIFF translation files
-
Upload 3 individual files from each language folder one by one and click upload
-
Apply to translation based on the language
-
Click Apply Checked
-
Click Publish
-
Select the language using checkbox and click Publish button
Apply Dynamic Translation
Enable Translations in Your APEX App
Navigation: Shared Components, Globalization, Translate Application.
-
Navigate to your APEX Application. For example, App ID 100.
-
Click Create Language.
-
Select Arabic (ar) or Thai(th) as the language.
-
Select Dynamic Translation as translation mapping.
-
Click Create.
Create String Translation in APEX UI
Navigation: Shared Components, Globalization, Dynamic Translations.
-
Click Create.
-
Select Arabic (ar) or Thai(th) as the language.
-
Select the From Text and To Text. For example, from English
Submitto Arabicإرسال. -
Click Create.
Follow the same steps for all translation instances.
After making the necessary changes, you can execute any APEX report according to the language selected in the globalization settings.